


Jlive is able to collect Donations when people Register for Events.
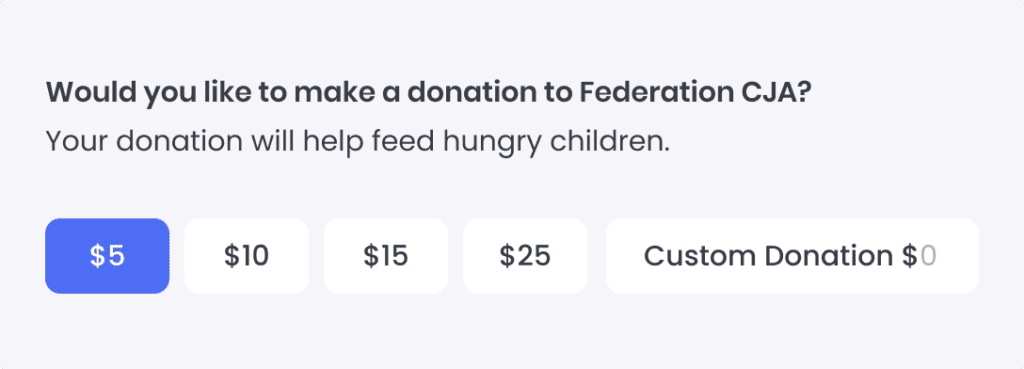
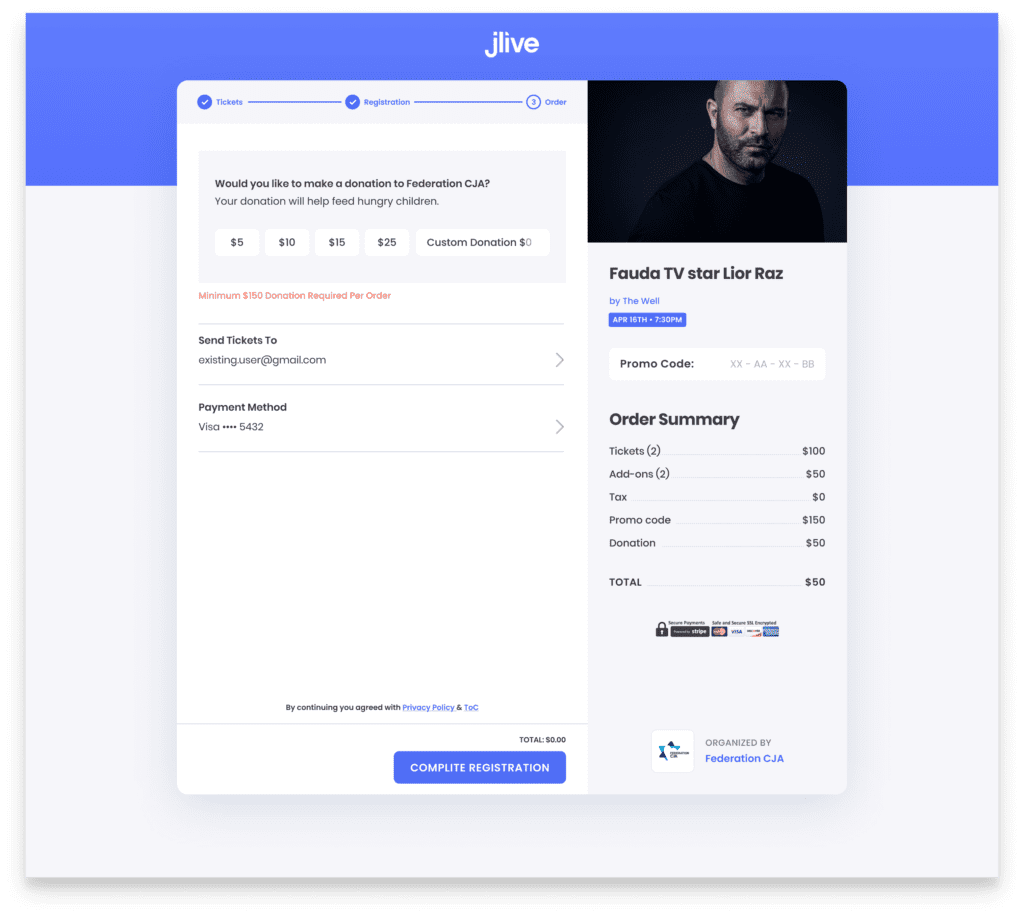
Here is how it looks to Registrants:
How to Set Up Donations
Enable Payments and Donations on Organization
1. Enable Stripe on the Organization – See: Connect Organization to Stripe
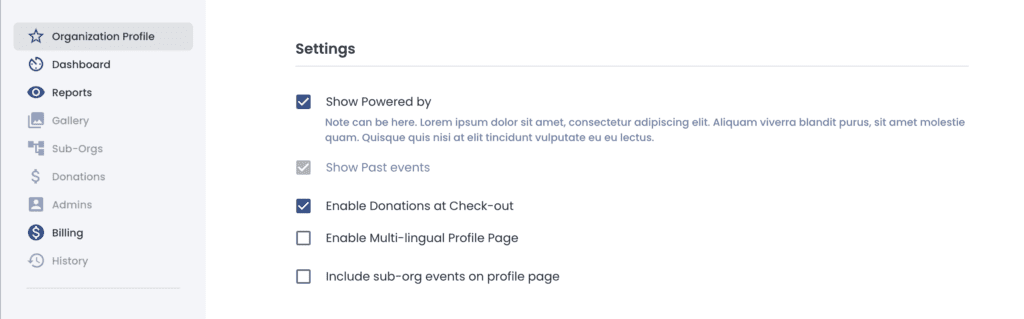
2. Enable Donations at the Organization from the Organization Profile / Settings page.
Enable Donations On Your Event
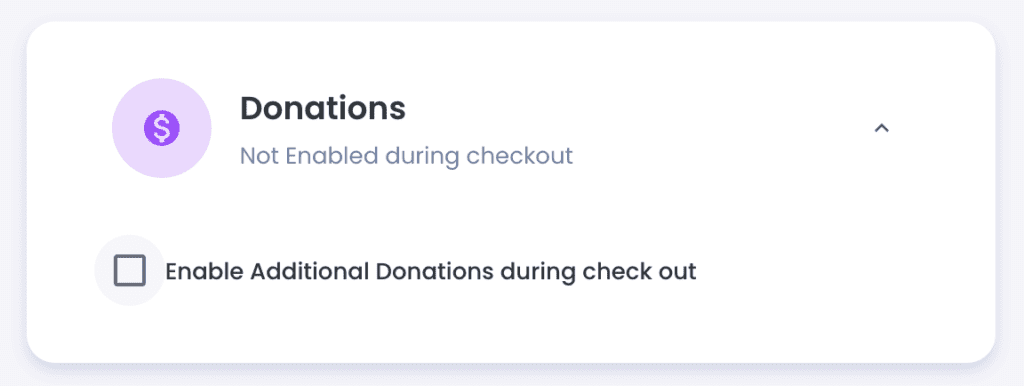
When creating an Event, on the Ticket Step:

You can enable Donations during check out.
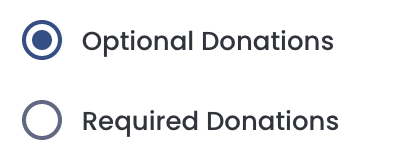
Choose Optional Donations and Required Donations.
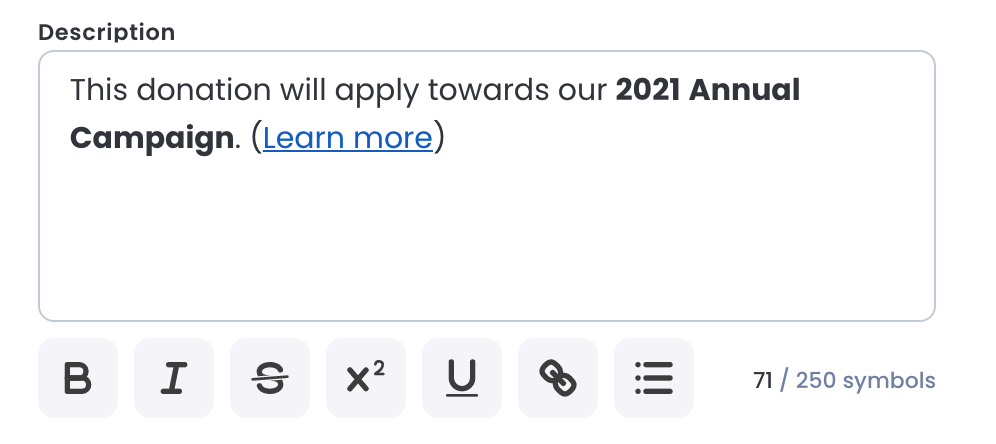
Indicate a Description to let Donors know how their donation will be used.
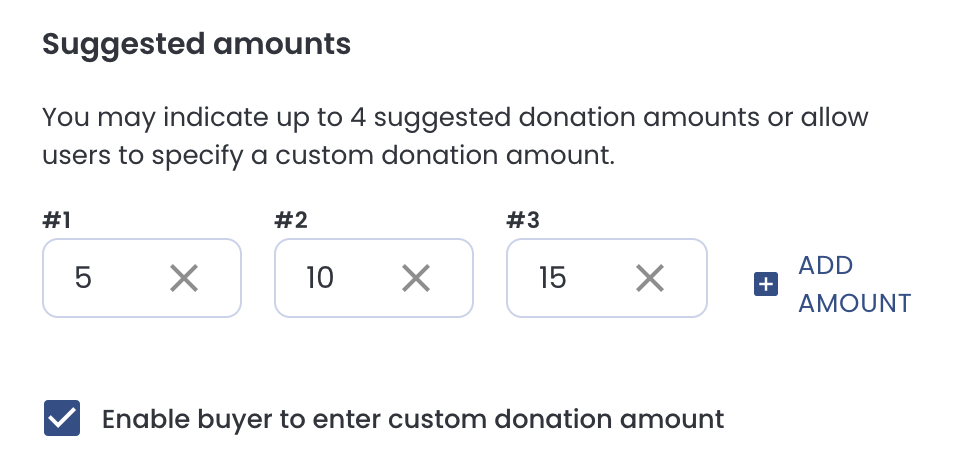
Suggested Amounts
Optional Donations allows you to set Suggested Amounts and to optionally allow people to enter a Custom Amount.
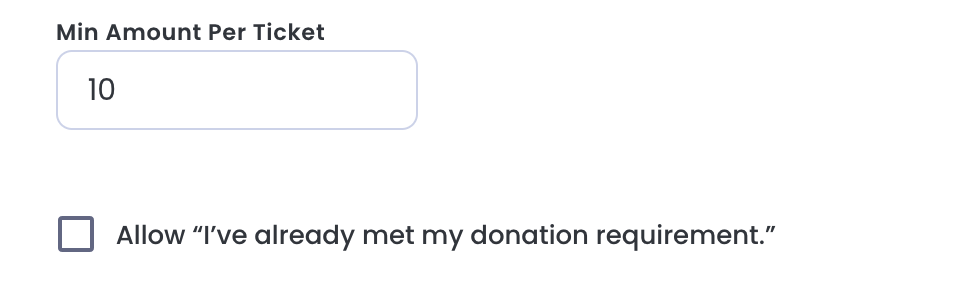
Minimum Required Donations
Required Donations allow you to set a Minimum amount per Ticket. You can also use the Description (above) to more clearly explain how this minimum donation works.
You can optionally allow Donors to bypass the Donation Requirement by checking a box that says “I’ve already met my donation requirement.”
Managing Donations
When viewing the Orders Page, you can lookup any Order and see the Donations in-line with the Tickets and Add-ons.
Donations are also included in the Downloadable Orders Reports.
Refunds are not allowed on Orders that contain Donations.