


On Step 2 of Creating Events, you can create Tickets.
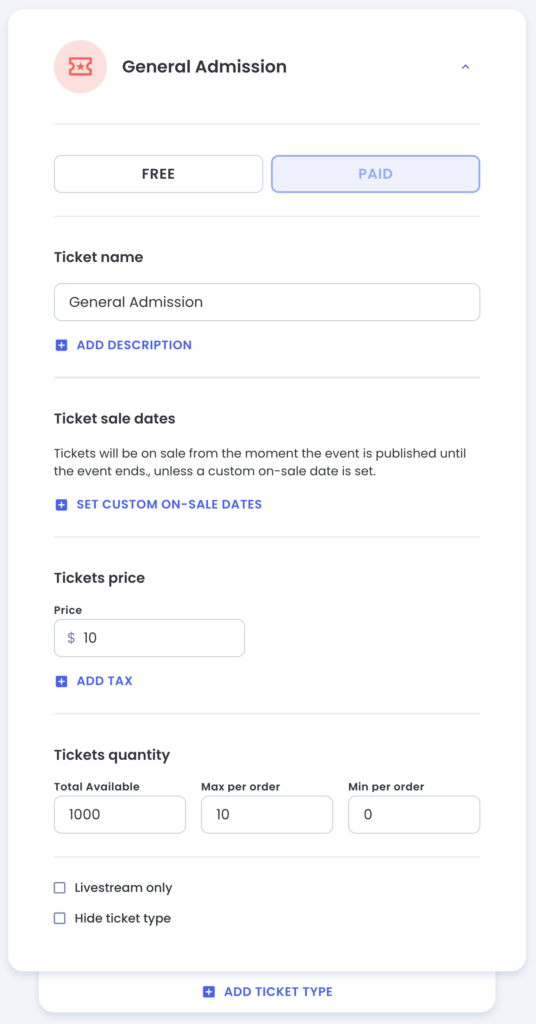
Within a given ticket you can decide whether it is a FREE ticket or a PAID ticket.
Additionally you can indicate the name of the ticket as well as a brief description.
You can optionally set Custom On-Sale Dates if there is a window of time where the tickets are available. This is useful for Early Bird ticketing.
Next you can set the total tickets available. You can also set a minimum and a maximum number of this ticket type per order.
Example: A Paid event may require a minimum of 1 Family Ticket purchased. Then additional child tickets can be free.
Paid Tickets
Paid Tickets require that your Jlive account is connected to Stripe.
See instructions Connect to Stripe
On paid tickets you may indicate if there are taxes included.
Transaction fees of 2.9% plus 30 cents per transaction are deducted from the net amount received by the organization. There is no ability to pass these fees on to the customer at this time.
Add-ons
Add-ons work just like Tickets but are generally used for things such as Dinner Vouchers, T-Shirts, Sponsorship Opportunities, Upgrades.
Add-ons may be “Redeemable” or “Non-redeemable”. Redeemable means that a PDF voucher will be included in the Registration email. (Example: Dinner Voucher PDF)
“Non-redeemable” simply means that there will not be a PDF included in the email.